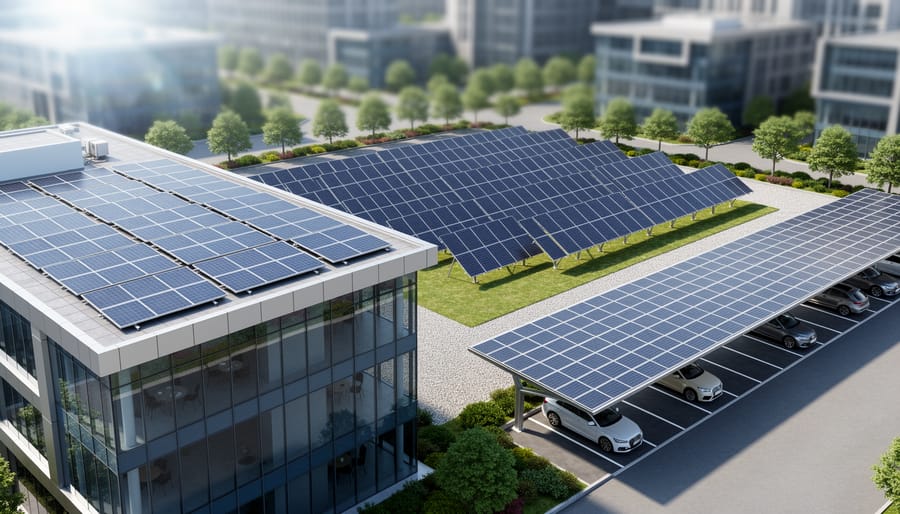
The commercial solar installation process follows the same basic path for every business: site assessment, design, permitting, utility interconnection, construction, and final inspection. What changes is the installation type you choose, and that choice shapes your timeline, your costs, and how much of the work you manage yourself. Rooftop systems suit most buildings with sturdy, sun-facing roofs. Ground-mounted arrays fit properties with open land. Carports turn parking lots into power plants and shade for customers. Each one moves through those same stages at a different pace.
If you’re a business owner, facility manager, or local policy maker, the right pick usually comes down to your available space, your energy use, and how quickly you want to be producing power. Permitting and interconnection rules vary by city and utility, so they deserve attention early. Think of them as the rules of the road rather than roadblocks, and a good installer will guide you through them.
Solar isn’t only for those with their own roof, either. Many communities are finding shared paths to clean energy, and solar community projects show how neighbors and local businesses can build something bigger together. Below, we compare each installation type stage by stage, so you can see what to expect and who each option serves best.
Commercial Solar Installation Types at a Glance
Before we dig into each step, here’s a quick map of the three most common commercial solar installation types. Think of it as a first look: each one turns space a business already has into a source of clean power, but the path to get there can feel a little different.
| Installation Type | Typical Site Fit | Relative Complexity | General Timeline | Standout Benefit |
|---|---|---|---|---|
| Rooftop | Buildings with sturdy, sun-facing roofs | Low to moderate | Often the shortest of the three | Uses space that would otherwise sit idle |
| Ground-Mount | Properties with open, unshaded land | Moderate to higher | Usually longer, due to site work | Flexible placement and room to expand |
| Carport/Canopy | Parking lots at campuses, retailers, and workplaces | Higher | Typically the longest | Power and shade in one structure |
Keep in mind that these are general patterns, not promises. A newer roof on a small shop might move faster than a sprawling ground-mount project, and local permitting can shift any timeline in either direction.
A helpful way to read the table is to start with your space. If you have a solid roof, rooftop systems are often the natural first conversation. If you own open land, ground-mount opens up possibilities. If your parking lot is the biggest underused surface you have, a canopy can make it work twice as hard.
With that picture in mind, let’s look at what each option actually is.
What Each Commercial Solar Option Is
Rooftop Systems: Putting Unused Space to Work
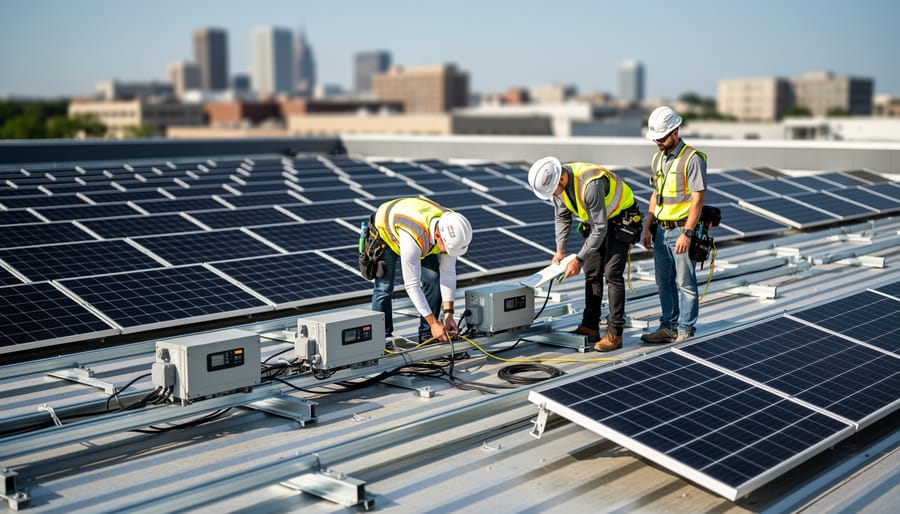
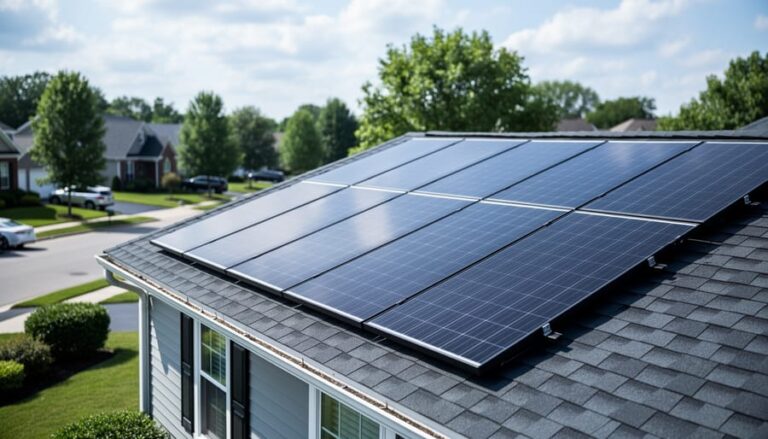
Rooftop commercial solar is just what it sounds like: solar panels mounted on a building’s existing roof, turning space that sits idle into a source of clean power. Because the roof is already there, there’s no new land to buy or clear, which is a big reason rooftop systems are the most common starting point for businesses.
They tend to suit buildings with large, flat or gently sloped roofs and plenty of daytime energy use. Think of a neighborhood grocery store running refrigeration all day, a warehouse with acres of unshaded roof, a school, or a medical office. A sturdy structure in good condition and a roof with few obstructions or shadows make the project smoother from the start.
Every roof is different, so it helps to know how to choose commercial rooftop equipment that matches your building’s age, material, and energy goals. Getting that match right early sets the whole installation up for success.
Ground-Mount Systems: Room to Grow
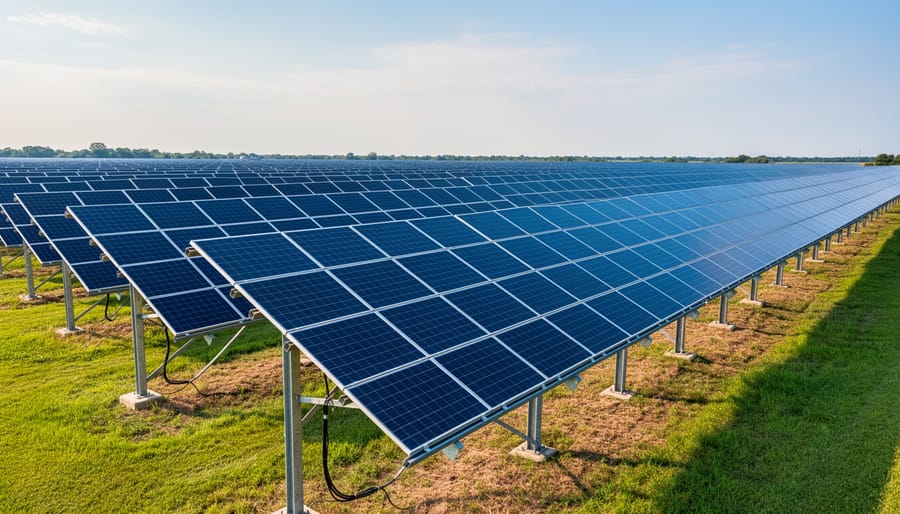
Ground-mount systems place solar panels on racks anchored directly into the earth instead of on a building. They suit businesses and organizations with open land to spare, like a farm, a vineyard, a school with an unused field, or a manufacturer with a back lot.
The biggest advantage is flexibility. Without a roof to work around, installers can tilt the panels at the ideal angle and point them toward the sun for strong year-round production. Some systems even use trackers that follow the sun across the sky. Placement is also easier to plan around shade from nearby trees or buildings.
Ground-mounts are also simpler to reach for cleaning and upkeep, and they can be expanded later if energy needs grow. The tradeoff is that they use land, and site work like grading, trenching, and sometimes fencing adds to the project. For properties with room to grow, they offer a powerful, scalable path forward.
Carport and Canopy Systems: Shade and Power in One
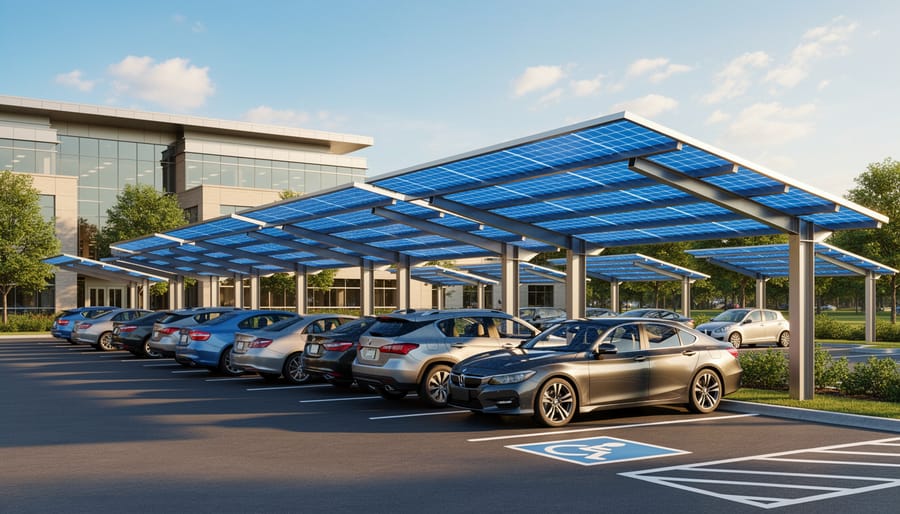
A solar carport is exactly what it sounds like: a raised canopy of solar panels built over a parking lot, driveway, or walkway. Cars stay shaded, and the panels turn that overhead space into a power plant. Because the structure sits above land a business already uses, nothing about the property has to change except the view upward.
This is why canopies appeal to schools, retailers, and employers. A university can offer covered parking while powering its buildings. A shopping center can give customers a cooler car and a visible sign of its sustainability commitment. An employer can make the daily commute a little more pleasant.
The tradeoff is structure. Carports need sturdy posts and footings, so installation involves more site work than a rooftop system. Many owners find that shelter, power, and community goodwill are worth it.
The Commercial Installation Process, Stage by Stage and How Each Type Changes It
Step 1: Site Assessment and Goal Setting
Every commercial solar project starts with a conversation about goals. Do you want to cut utility bills, hit a sustainability target, or show your community you’re investing in cleaner power? Your answer shapes everything that follows.
From there, an installer reviews your past electricity bills to understand how much power you use and when. Then comes a close look at the property itself, including how much sun it gets and what stands in the way, like trees or neighboring buildings.
Each installation type gets its own checks:
– Rooftop: Installers check the roof’s age, condition, and structural strength. A roof that needs replacing soon is better fixed first.
– Ground-mount: The focus shifts to land, including slope, soil type, drainage, and distance to your electrical connection.
– Carport: Teams study the parking layout, vehicle clearance, and traffic flow, so the canopy fits how people actually use the lot.
Good answers here make every later step smoother.
Step 2: Design, Financing, and Incentives
Once your goals are clear, the installer turns them into a design: how many panels, where they sit, and how much of your electricity bill they can realistically cover. A rooftop layout works around vents and structural limits, a ground-mount can be angled for strong sun, and a carport plan follows your parking lot’s footprint. Ask to see the projected energy output next to your past utility bills so you can judge the match yourself.
Financing comes next, and you have choices. Some businesses pay cash, others use a loan, and some choose a lease or power purchase agreement, where a third party owns the system and you pay for the electricity it produces. Each path shifts upfront spending, ownership, and who handles upkeep. Comparing quotes is easier when you understand typical numbers, and a guide to rooftop installation cost offers a helpful starting point.
Incentives can lower the total price, including federal tax benefits, state programs, and local utility rebates. Availability and rules change by location and over time, so verify what applies to you with your installer, your utility, or your state energy office before you commit.
Step 3: Permits, Approvals, and Utility Agreements
Permits and utility approvals are where a commercial solar project meets the community, and where timelines differ most. Rooftop systems usually need building and electrical permits. Ground-mount projects may add zoning review, grading approvals, or stormwater checks. Carports often involve structural and fire-code review, since they’re real structures over parking areas.
Alongside local permits, your installer will file an interconnection application with the utility. The utility studies whether the grid can safely accept your system’s power, then issues a permission-to-operate once everything checks out. Larger systems typically take longer to study.
Why do wait times vary so much? Staffing, local rules, and application volume all play a part. Some jurisdictions offer online portals and standardized checklists that move projects along. Others rely on paper reviews and lengthy queues.
This is where policy becomes personal. Supporters of streamlined permitting point to faster, more predictable projects. Others emphasize that careful review protects safety and neighbors’ interests. Both goals can coexist, and the neighbors learning about solar in your area may already know which local offices are easiest to work with.
Step 4: Construction and Installation
Once permits and utility agreements are in hand, crews arrive and the project moves quickly. The basic sequence is the same everywhere: crews set up the mounting structure, install the panels, run the wiring to the inverters, and connect to the building’s electrical system. Inspectors then check the work at key points before anything is switched on. If you want a feel for the hands-on sequence, the roof installation steps for a home are a helpful starting picture, though commercial jobs are larger and use bigger crews.
Where the installation type matters is daily life at your business. Rooftop work happens overhead, so customers and employees mostly carry on as usual, though deliveries and equipment lifts may need scheduling. Ground-mount projects bring excavation, concrete footings, and trenching, so expect more noise and vehicle traffic at one corner of the property. Carports are the most visible: sections of the parking lot close in phases, and a good installer will stage the work so shoppers, students, or staff can still find a place to park.
Ask your installer for a site logistics plan up front.
Step 5: Final Inspection, Activation, and Ongoing Care
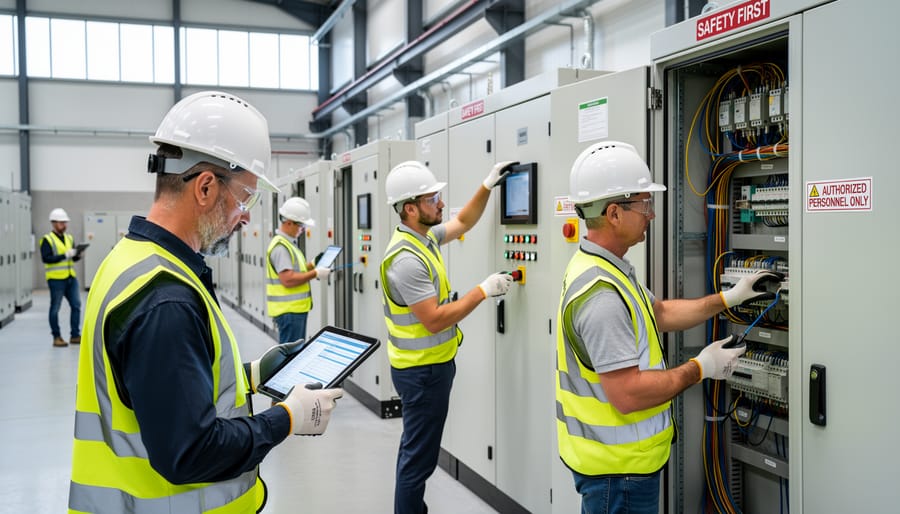
Once the last panel is wired and tested, the project still needs a few official green lights before it starts producing power. The local building department typically performs a final inspection to confirm the system was installed to code. After that, your utility reviews the paperwork and issues permission to operate, often called PTO. Until you have it, the system should stay switched off, so build that waiting period into your launch plans.
After activation, monitoring becomes your best friend. Most commercial systems include an online dashboard that shows daily production, so a dip from one week to the next is easy to spot. A sudden drop can point to a tripped breaker or a shaded panel long before it shows up on a bill.
Maintenance is refreshingly simple. Keep panels free of heavy dust, leaves, and debris, and schedule an annual visual check of wiring, mounts, and inverters. Rooftop owners should keep roof access clear, ground-mount owners should trim vegetation, and carport owners should watch for bird nests and debris on top of the canopies. Small habits like these keep a system performing for decades.
Who Should Choose Which: Matching Your Property to the Right Installation
Choosing among rooftop, ground-mount, and carport solar usually comes down to the space you already have and what you want that space to do for you. There’s no single right answer, and plenty of organizations have found a good fit by starting with their own property rather than a trend.
Here’s a simple way to match your situation to an installation type:
- Choose rooftop if you own a building with a sturdy, sunny, relatively open roof, such as a neighborhood grocery store or small office.
- Choose ground-mount if you have unused open land, like a vacant lot beside a warehouse or a field at the edge of a campus.
- Choose carport if you have a large surface parking lot and want shade for cars along with clean power, as many schools, retailers, and employers do.
- Choose rooftop first if your budget is tight and you want the most straightforward starting point, then consider adding more later.
- Choose ground-mount if you expect your energy needs to grow and want room to expand in stages.
Communities tend to share what they’ve learned along the way. A school district might begin with rooftop panels on one building, then add a parking canopy once students and parents see the results. A small business that leases its space may find a rooftop or carport conversation with the property owner is the easiest first step. A nonprofit with a few acres of land might prefer ground-mount, since it avoids questions about an aging roof and leaves room to grow.
Budget priorities and long-term plans matter too. If you may replace your roof soon, it’s worth timing that work with a rooftop project or weighing a ground-mount alternative. If you’re planning to stay on your property for many years, a design with room for expansion can pay off.
Whichever direction you lean, talking with neighboring businesses, local solar groups, and installers can sharpen your choice. Their real-world experience often reveals details no brochure will, and it builds the kind of community knowledge that makes the next project easier for everyone.
Key Takeaway: Same Journey, Different Starting Points
Think of the process as one shared road with different on-ramps. A school with a sunny roof, a farm stand with open land, and a retailer with a big parking lot all travel the same stages. What differs is the first mile. Spending time on the site assessment and local requirements up front helps the rest of the journey run more smoothly.
Common Questions About Commercial Solar Installation
Most business owners start with the same handful of questions, whether they’re eyeing a rooftop, an open field, or a parking lot canopy. Here are plain-language answers to the ones we hear most often.
How long does a commercial solar installation usually take?
It depends on the system size, the installation type, and how quickly permits and utility approvals come through. Rooftop projects often move fastest on site, while ground-mount and carport projects typically involve more groundwork, so planning time into your schedule from the start helps.
Can a business keep operating during installation?
In most cases, yes. Rooftop crews work above the daily activity, while carport projects may temporarily close sections of a parking lot, so a good installer will plan work zones and schedules around your hours.
Do I need to replace my roof first?
Not always, but roof age and condition matter, since panels can stay in place for many years. A site assessment will show whether your roof is ready, needs repairs, or whether a ground-mount or carport system might be a better fit.
How can my business or community help encourage supportive solar policy?
Share your project experience with local officials, join regional solar networks, and take part in public comment periods on permitting and interconnection rules. Clear, consistent processes make solar easier for every neighbor who follows.
Permits deserve a quick mention, since they come up in nearly every conversation. Requirements vary by city, county, and utility, but projects commonly involve building and electrical permits plus a utility agreement to connect to the grid. Your installer will usually guide you through what applies locally, and checking with your local permitting office early can save surprises later.
If your question isn’t covered here, that’s a good sign you’re ready for a site assessment. Local installers, neighboring businesses, and community solar groups are often happy to share what they learned, and those conversations can turn a big decision into a confident first step.
Whether your business lands on a rooftop array, a ground-mount field, or a carport canopy, the destination is the same: a property that makes clean power from the sunlight it already receives. Each path moves through familiar steps, and each one gives your team, your customers, and your neighbors something to be proud of.
The best place to begin is a site assessment. It turns a big idea into a clear picture of what your property can do, and it costs you nothing but curiosity.
From there, lean on your community. Local solar networks, nearby businesses that have already made the switch, and area schools and nonprofits are generous with lessons learned. And if you can, join the conversation at the local level, where permitting and interconnection rules take shape. Every commercial project that gets built makes the next one easier.